
It’s critical that customers’ purchases can be tracked, viewed, fulfilled, and broadly everything else. Imagine the carnage that would flow from a customer and business not having the same consistent point of reference.
That is exactly what is happening when you move your woocommerce website somewhere else, without transporting the whole database lock stock and barrel.
For me, I want a new host and to take the opportunity to clean up and otherwise sluggish WP instance. I’m no stranger to migrating a site either to a new domain or entirely new server, but I have limited experience of doing this with woocommerce and new databases.
Using WP All Import, I did this a little while ago for the first time. The answer to the problem of retaining the order numbers was to use a plugin (Webtoffee’s Sequential Order Numbers) to take the order references out of the control of WP Posts. This plugin adds a data item to the orders_meta table and neatly uses a new _order_number for public display. Beautiful.
However, this instance has a server issue causing it to fall over (non related) and so it is time to move again. But now, WP All Import isn’t picking up the meta data when I try to export. That is a nightmare situation. Here’s the solution for my particular issue.
Exporting
Create a new Woocommerce Orders export and customise the export file.
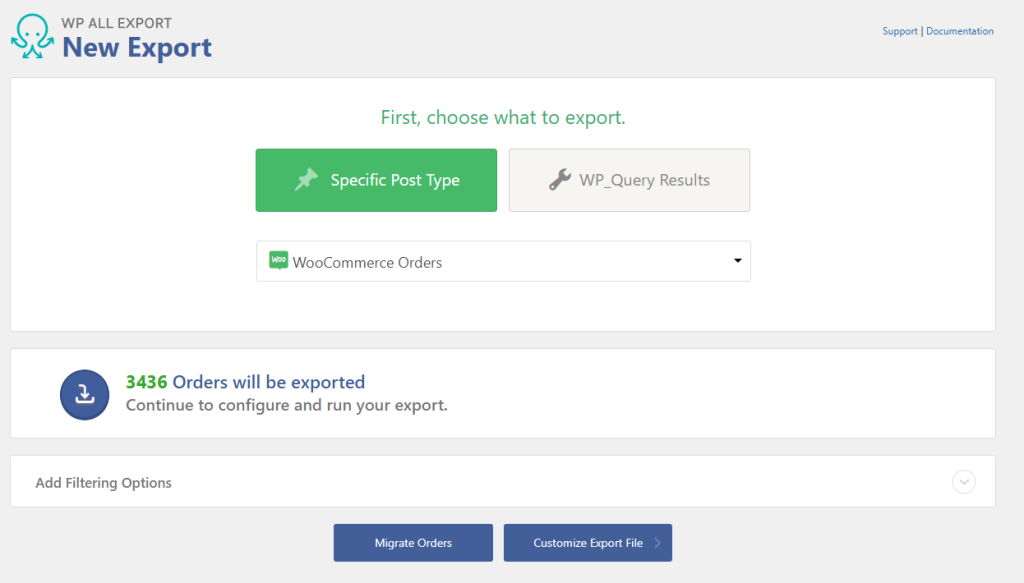
Click the “Add all” buttons, to export everything. Ideally this would include the _order_number field, but it [currently at least] doesn’t.
Now we need to include the current Order ID manually. Click “Add Field” for the options screen.
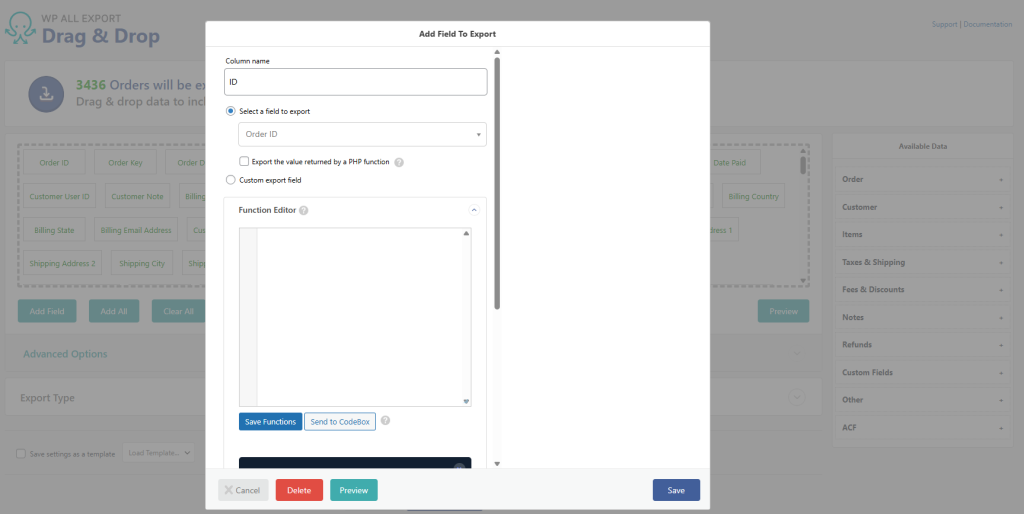
Call the new field original_id in the “Column name” and select “Export the value returned by a PHP function”. Here we will now tell the export to call the data we need. Call the function “orig_order_number” and paste the following into the Function Editor:
<?php
function orig_order_number( $order_id ) {
    global $wpdb;

    $table = $wpdb->prefix . 'wc_orders_meta';

    $results = $wpdb->get_var(
        $wpdb->prepare(
            "SELECT meta_value
             FROM $table
             WHERE order_id = %d
               AND meta_key = '_order_number'
             LIMIT 1",
            $order_id
        )
    );

    return ! empty( $results ) ? $results : null;
}

?>
Then click Save Function.
Next select “Preview” on the bottom of that options box. From here you will get a selection of orders going out. Our new field will be the very last column. Scroll to make sure. Assuming the the right data is in there, click save.
Now you can run your export and save as a bundle.
Importing
When it comes to it, in your import sequence, import your orders file. The changes that you need to make are:
Create a custom field called _order_number and drag “original_id” from the field list for the data values
In the functions editor use the following to map the ID to the previous one
function my_pmxi_article_data( $articleData, $import, $post_to_update, $current_xml_node ) {
    // Turn the XML node into an array.
    $xml_data = json_decode( json_encode( (array) $current_xml_node ), 1 );

    // Change 'id' if your ID exists in an element not named {id[1]}.
    $articleData['import_id'] = $xml_data['original_id'];

    // Return article data.
    return $articleData;
}
add_filter('pmxi_article_data', 'my_pmxi_article_data', 10, 4);
save the function and move to the next step.
Here you should see that “original_id” is shown as the default ID convention.
Now run the import.
Done!